Each Lincoln is handcrafted one at a time.
STEP 1 : CHOOSE YOUR MATERIALS
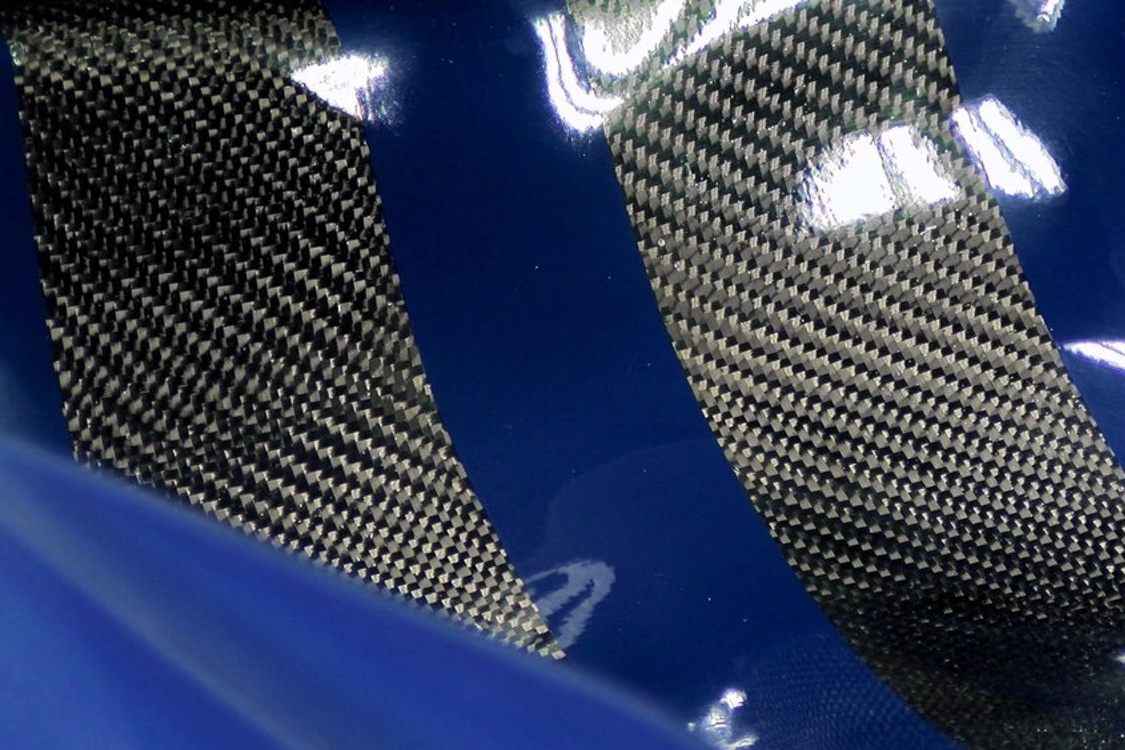
Our goal in step one is to match your paddling preferences with the performance characteristics of the available lay-up materials. Our standard lay-up includes a layer of aramid sandwiched in between two fiberglass layers. Our carbon layup is the same as above but we replace the aramid with carbon for a stiffer and lighter lay-up. A brief description of each material is below. See more information on the materials we use in part 1 of our composite build video series.
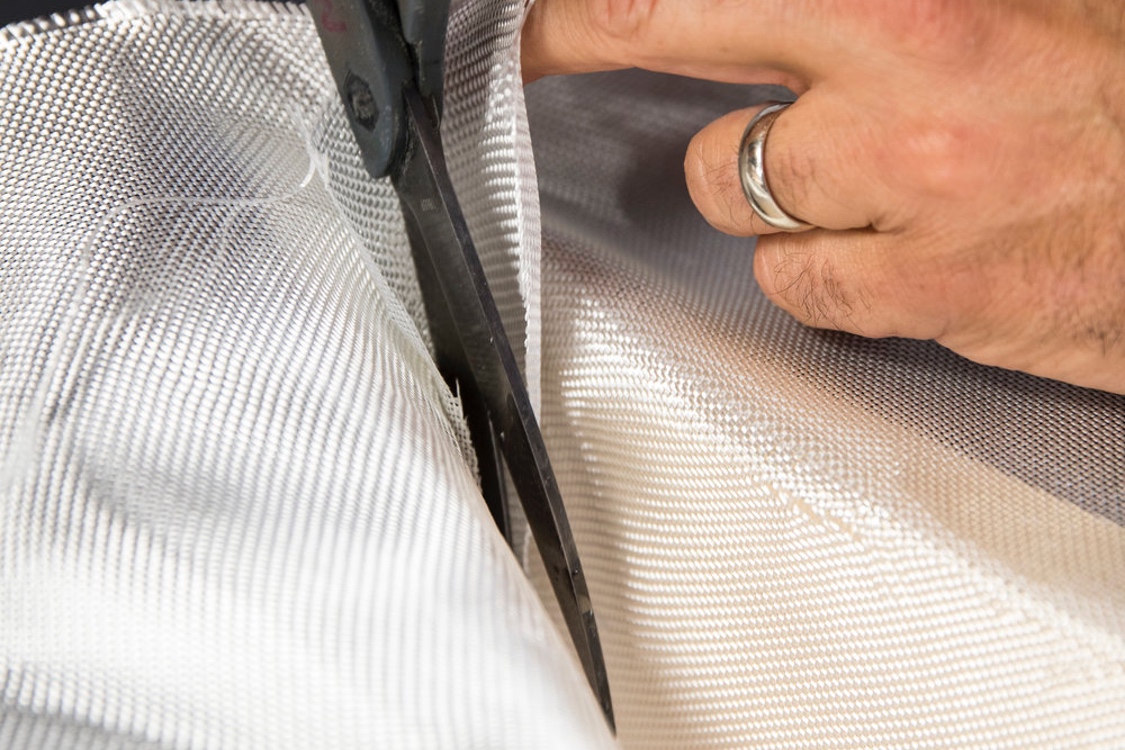
Fiberglass & Kevlar is our standard layup, which includes two layers of fiberglass and one layer of kevlar to combine lightweight, stiff and durable construction with affordability.

A Kevlar Upgrade (for canoes only) creates an even lighter platform and weight savings over full fiberglass.

An optional layer of Carbon Fiber is an ideal material to make your boat quicker and more responsive and, by the way, it’s at least 12-15% lighter than our standard layup.
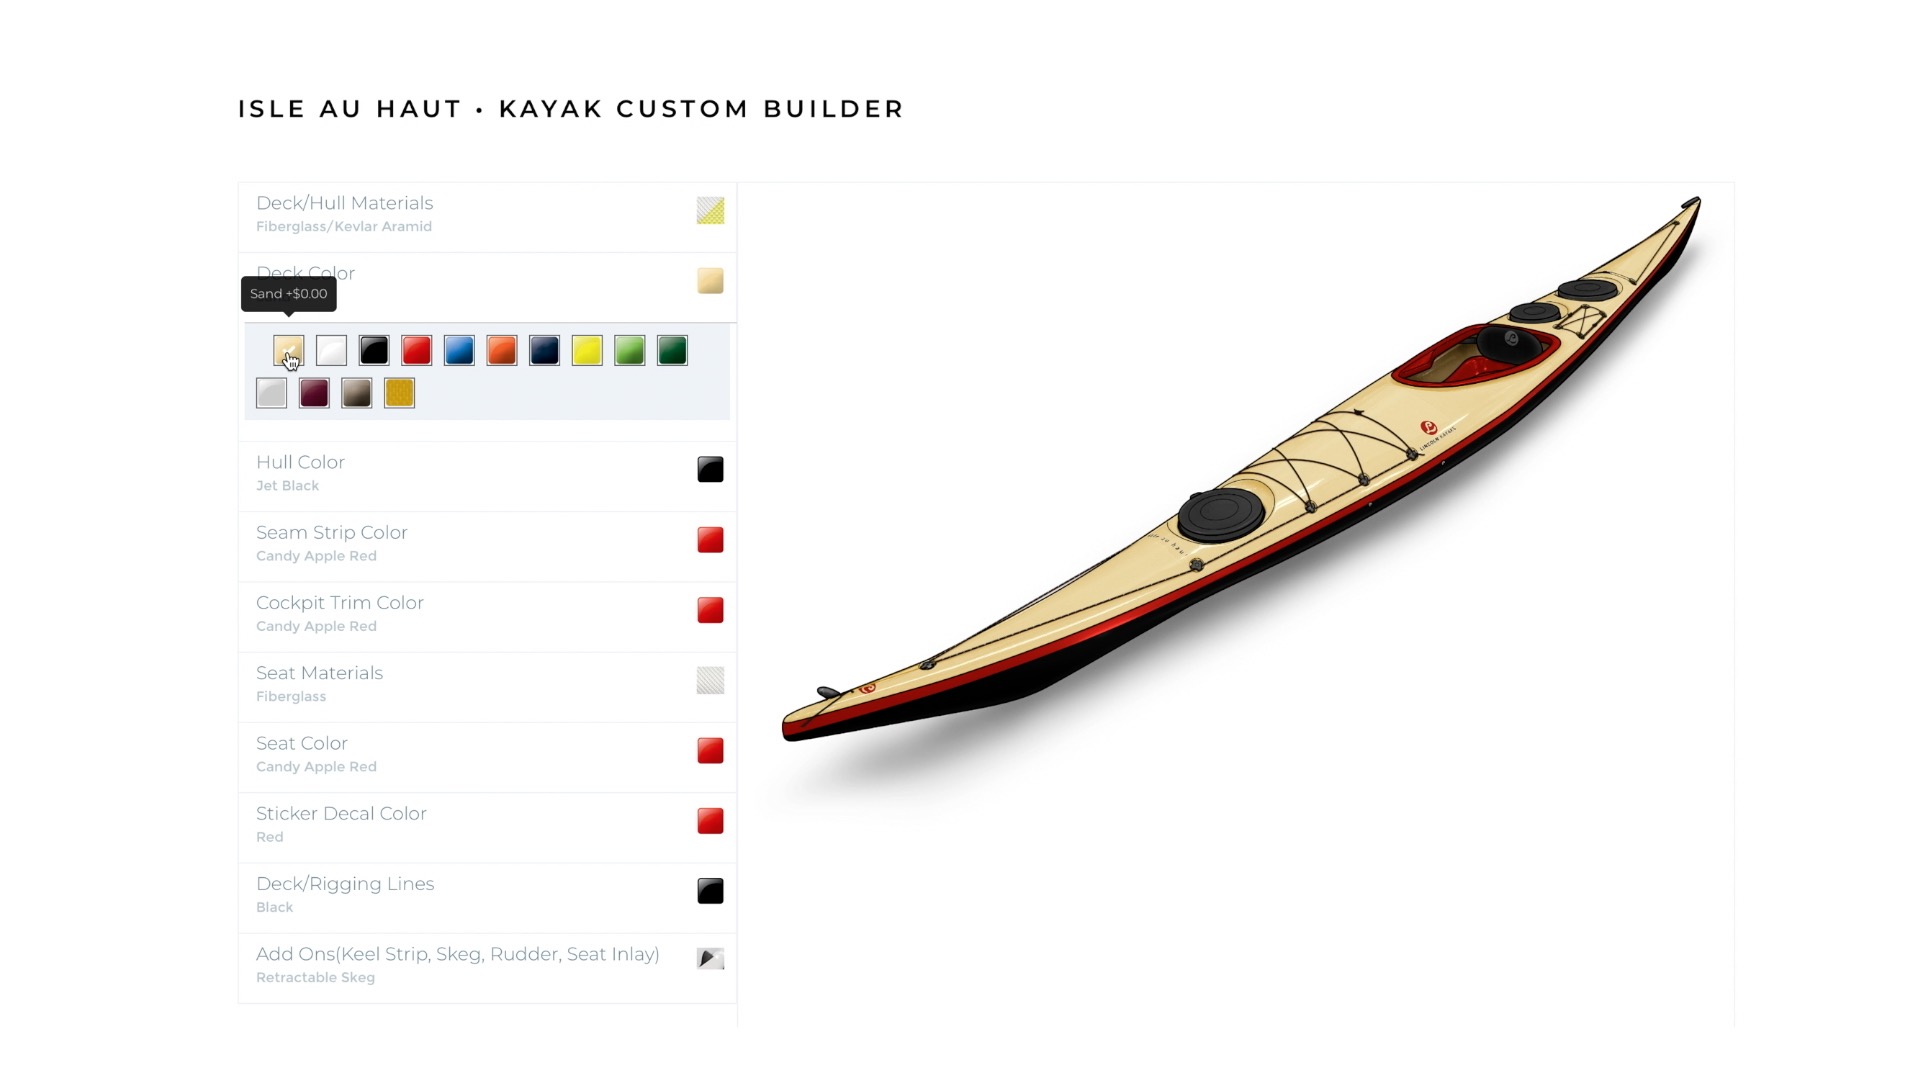
STEP 2: CHOOSE YOUR STYLING
“She’s a beauty.” Especially when she’s styled to the eyes of the beholding owner. In step two, we need your color and add-on choices. Talking with us can be a big help. Call or chat
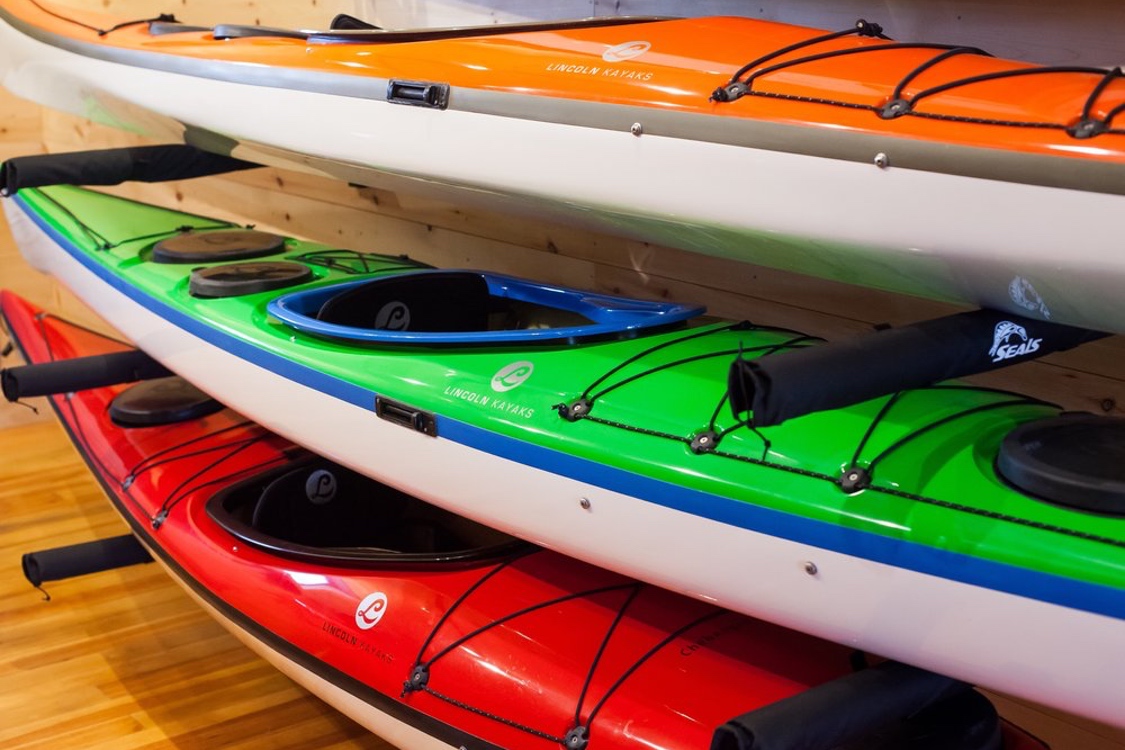
Color Scheme: Choose your colors for the deck, hull, trim strip, cockpit coaming, & fiberglass seat. We have lots of great colors including glow in the dark options.
Add-On Features: Add-on’s are available on many models. Options include: keel strip, skid plates, retractable skeg, “Smarttrack” rudder system.
Special Requests: We’d be happy to fulfill a special request like this fiberglass seat with carbon racing stripes or even custom graphics. Call or chat to with us.
STEP 3: WE HANDCRAFT YOUR BOAT
Once we have your final color, add-on, and layup choices, we start prepping a mold for the spray booth. Several days of interesting steps later, your shiny new Lincoln is ready for shipping. Watch all those interesting steps in our build series for the full details.
*Life happens and we get that. Order cancellations only available preproduction. No cancellations once boats are in production.
Part 1: Gel Coat Spraying & Composite Lay-up
This video covers step one and two of the building process. First we spray the mold with your desired deck & hull gel coat color.
The composite fibers are then laid down which are made up of fiberglass, kevlar, and or carbon.
Part 2: Vacuum Bagging & Resin Infusion
Step two in the process is infusion of the resin that combines the different fibers into a single structure.
A vacuum bag is fitted around each mold and resin is applied and spread evenly throughout the layers.
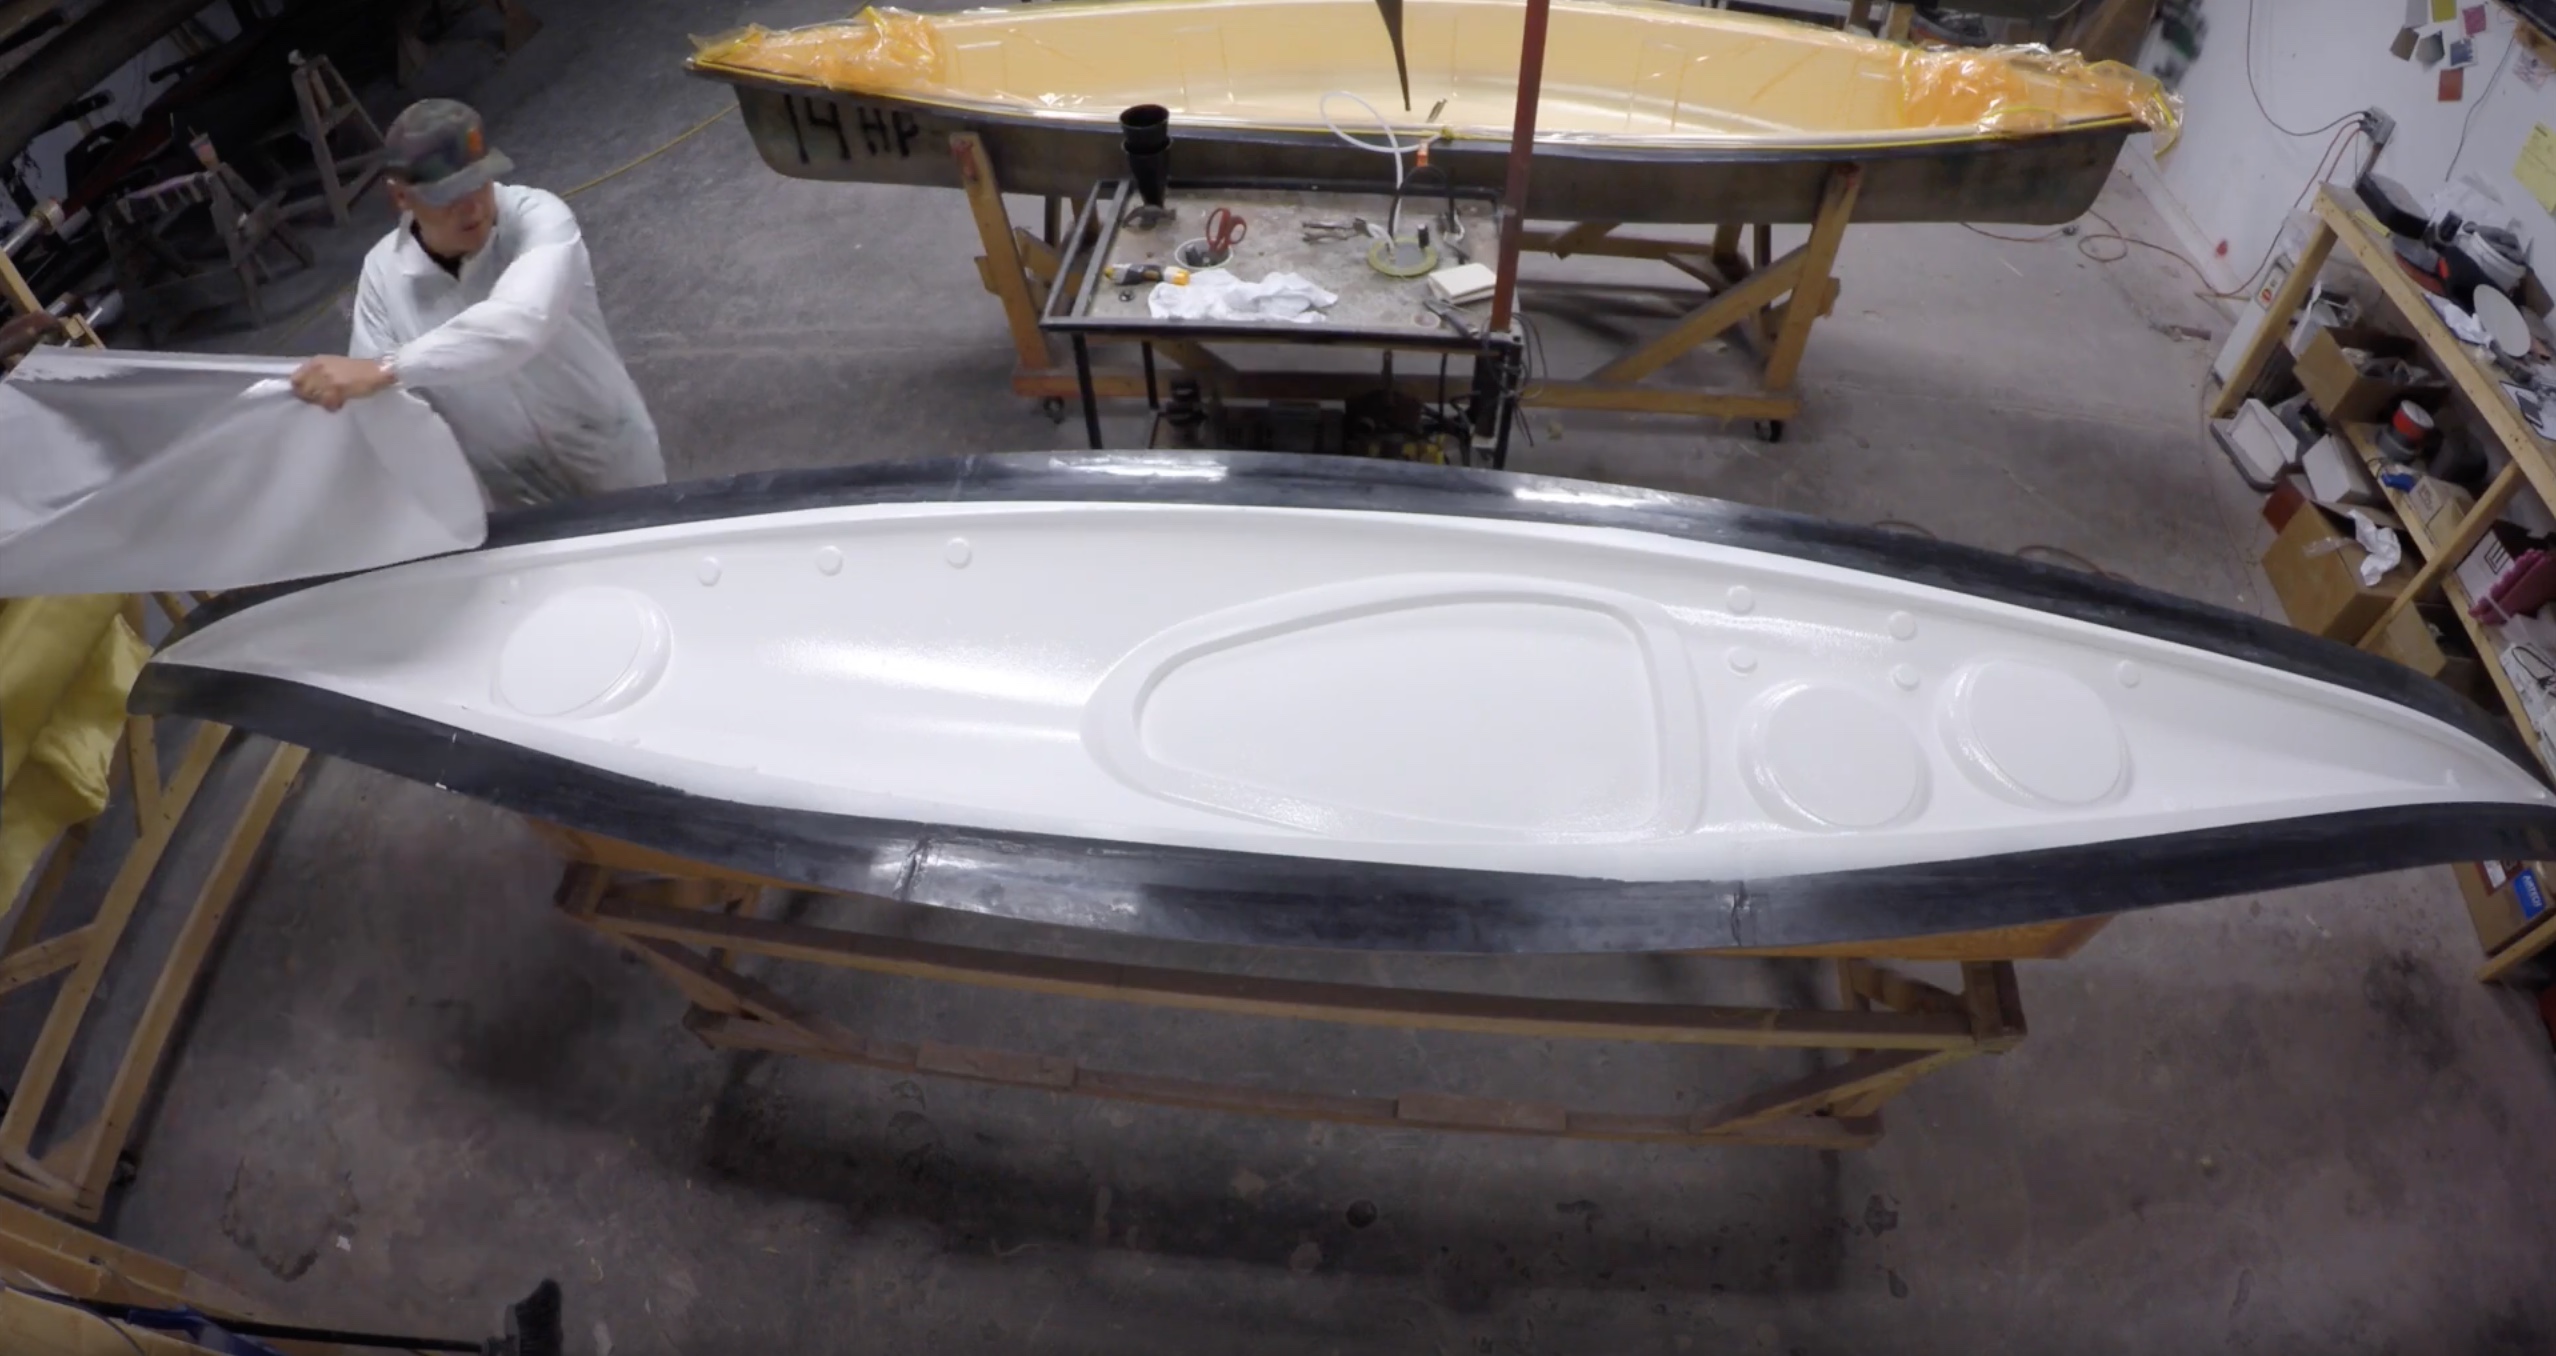
Part 3: Deck & Hull Assembly
After the mold has cured overnight the deck & hull are pulled and the flanges are cut.
The hatch holes and combing are also cut and bonded. The identification serial numbers are also added to each part.
Part 4: Deck & Hull Joining
In part 4 the deck & hull are finally joined with a fiberglass inner seam. The outside seam is added, gel coated, and cured.
Once ready the area is masked off and the gel coat seam is painted with the requested colo
Part 5: Line Rigging & Finishing
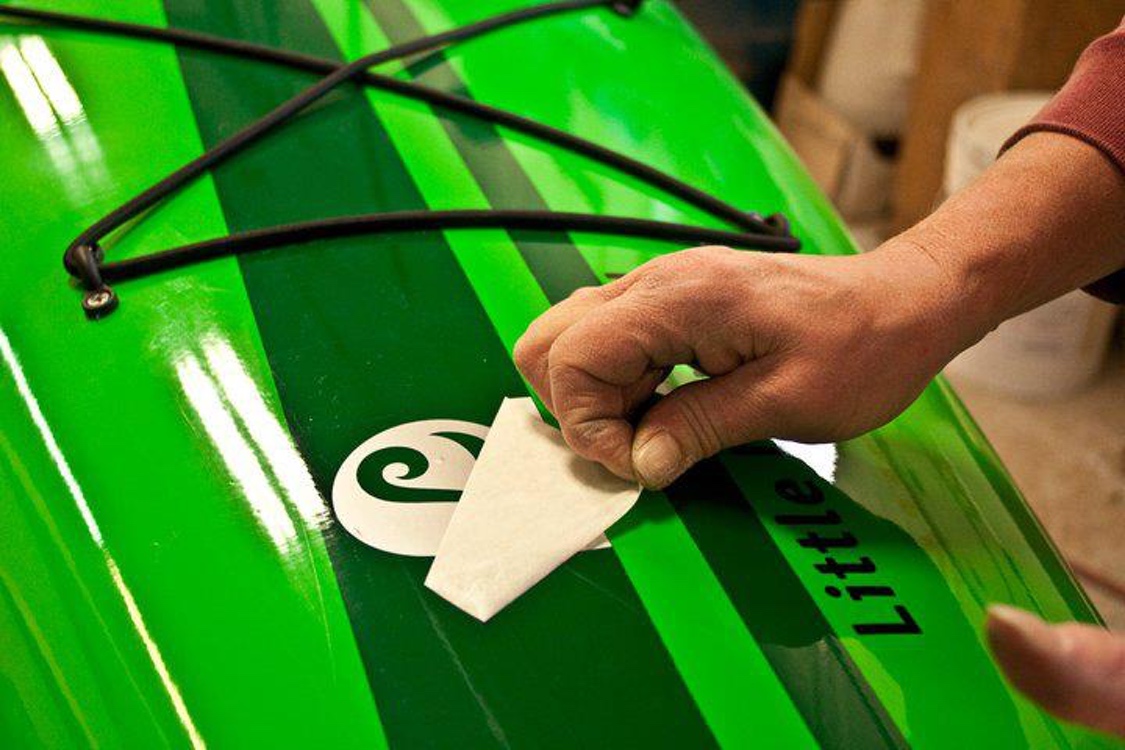
In Part 5 the finishing process is completed, which includes rigging of the lines and hatch covers. The seat is placed, bonded and mounting parts attached.
Finally, decals are applied whilst polishing and buffing are done until everything is perfect.